Is water sneaking into your home near the chimney or around skylights?
You might be dealing with damaged roof flashing. This thin metal barrier is your roof’s first line of defense against leaks, but most homeowners don’t realize there’s a problem until water stains appear on the ceiling.
Here’s what makes this issue urgent: A small flashing failure can allow thousands of gallons of water into your home over just one Long Island winter. That water doesn’t just create stains—it rots wood, breeds mold, and compromises your home’s structural integrity.
The good news? Understanding how roof flashing works and when to call for repairs can save you thousands in water damage restoration. In this guide, we’ll walk you through everything you need to know about identifying, repairing, and maintaining roof flashing on Long Island.
What Is Roof Flashing?
Roof flashing is thin, weather-resistant metal installed at critical roof junctions to redirect water away from vulnerable areas. Think of it as your roof’s waterproofing insurance policy.
Flashing protects the spots where water naturally wants to collect: around chimneys, along roof valleys, near skylights, around vent pipes, and at the edges where your roof meets walls. Without it, even the best roofing materials can’t keep water out.
Most Long Island homes use aluminum flashing because it resists the salt air corrosion we deal with here on the coast. You’ll also find galvanized steel, copper, and occasionally lead flashing on older homes.
The material matters less than the installation quality. Properly installed flashing creates an overlapping water barrier that channels every drop away from your home’s interior.
Types of Roof Flashing
Understanding the different types of flashing helps you identify which areas need attention during inspections.
Step Flashing
Step flashing consists of small L-shaped metal pieces installed in a stepped pattern along walls and chimneys. Each piece overlaps the one below it, creating a water-shedding cascade.
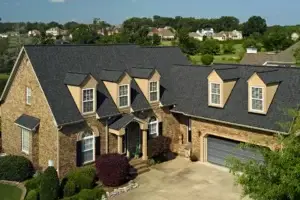
This type is most common where sloped roofs meet vertical walls. You’ll find it on most Long Island colonials and Cape Cods.
Valley Flashing
Roof valleys—where two roof slopes meet—collect massive amounts of water during storms. Valley flashing channels this water straight down and off your roof.
On Long Island, valley flashing takes a beating from our heavy spring rains and winter snow accumulation. It’s one of the first places to check for damage.
Drip Edge Flashing
Installed along roof edges, drip edge flashing prevents water from seeping under shingles and rotting the fascia boards. It guides water cleanly into your gutters.
Many older Long Island homes were built without proper drip edge. Adding it during repairs provides critical protection.
Continuous Flashing
Also called apron flashing, this single long piece of metal runs along roof-to-wall junctions. While continuous flashing offers clean lines, it’s more vulnerable to expansion and contraction damage than step flashing.
Vent Pipe Flashing
These specialized rubber or metal boots seal around plumbing vents and other pipes penetrating your roof. The rubber deteriorates over time—especially in our hot summers—creating leak pathways.
Signs Your Roof Flashing Needs Repair
Catching flashing damage early means simple repairs instead of major restoration. Watch for these warning signs:
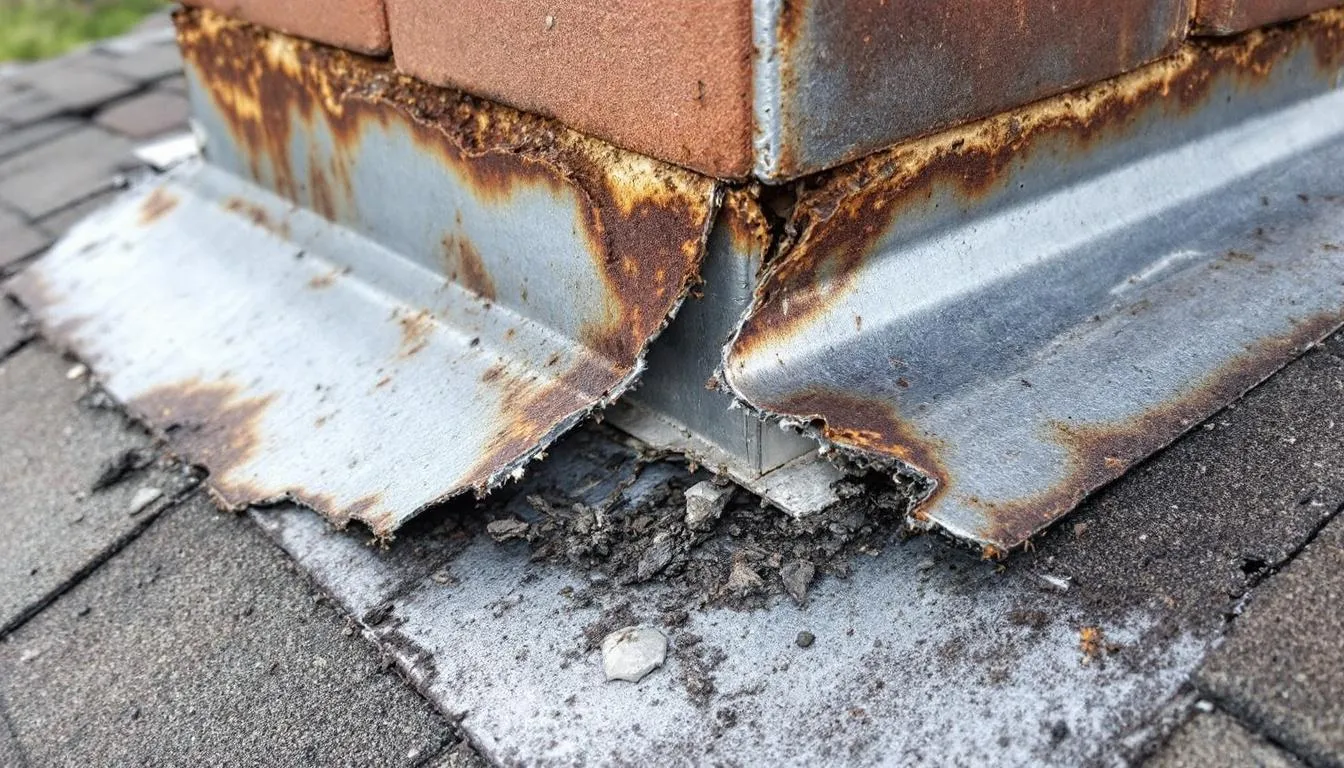
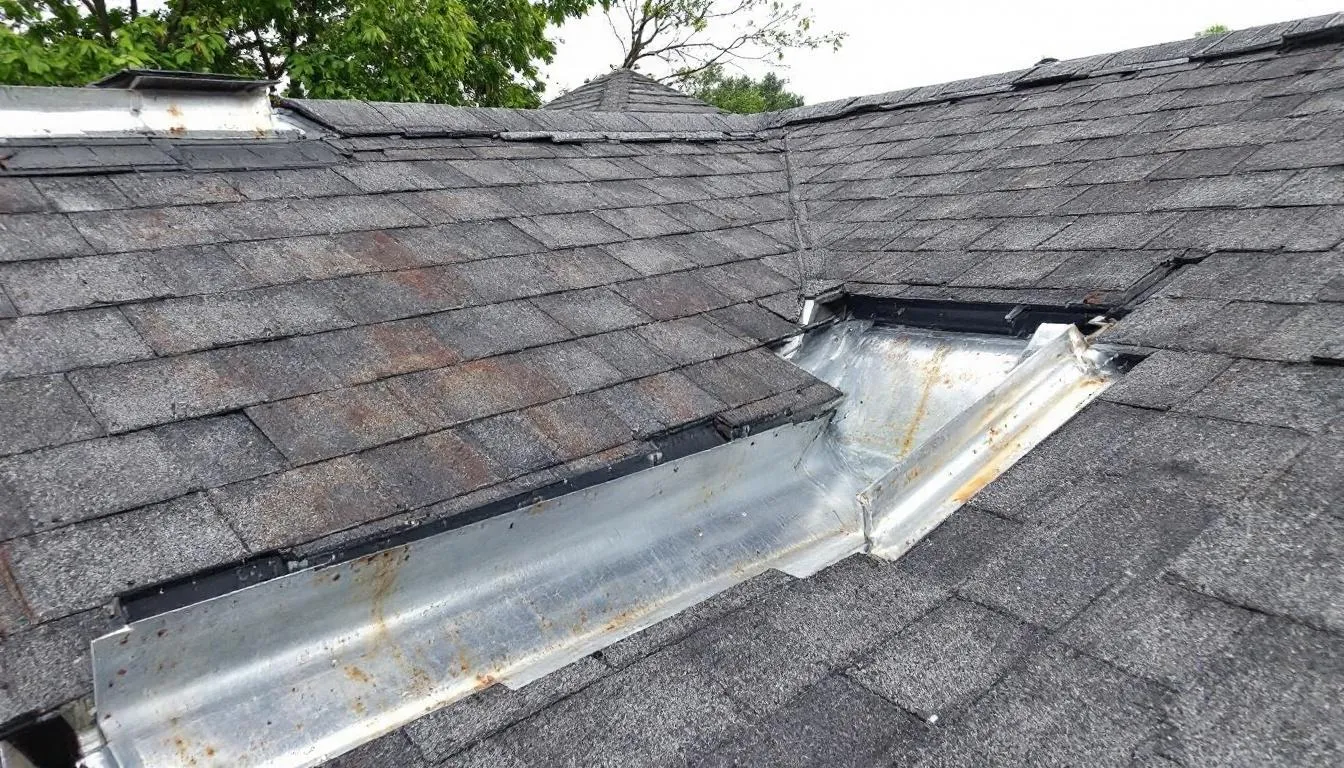
1. Visible Rust or Corrosion
Rust is flashing’s enemy number one. Once oxidation starts, it spreads quickly. Small rust spots indicate the flashing is nearing the end of its lifespan.
Long Island’s salt air accelerates corrosion, especially on coastal properties. What might last 30 years inland could fail in 20 near the water.
2. Gaps or Separation
Flashing should lie flat against both the roof surface and whatever structure it’s protecting. Any visible gaps mean water can penetrate.
Check where flashing meets chimneys, walls, and roof surfaces. Even quarter-inch gaps spell trouble during driving rain.
3. Cracked or Missing Sealant
The roofing cement or caulk sealing flashing edges should be flexible and intact. Cracked, crumbling, or missing sealant creates leak pathways.
Temperature swings crack sealant over time. Our freeze-thaw cycles on Long Island are particularly hard on flashing seals.
4. Interior Water Stains
Water stains on ceilings or walls near chimneys, skylights, or roof valleys often indicate flashing failure. By the time stains appear, water has been infiltrating for a while.
Don’t ignore stains just because they’re small. That trickle will become a flood during the next nor’easter.
5. Bent or Damaged Metal
High winds, falling branches, and ice dams can bend or tear flashing. Physical damage requires immediate attention—there’s no temporary fix for a hole.
6. Lifted Shingles Near Flashing
Shingles around flashing should lie flat. Lifted or buckled shingles often indicate water has been getting under the flashing and compromising the roof deck.
The Roof Flashing Repair Process
Professional flashing repair follows a systematic approach that ensures lasting protection. Here’s what the process involves:
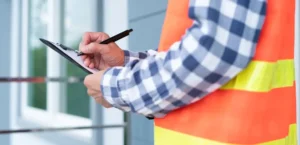
Initial Inspection and Damage Assessment
A thorough inspection identifies all problem areas, not just the obvious leaks. Experienced roofers check every vulnerable junction because flashing rarely fails in isolation.
The inspection should cover flashing condition, sealant integrity, surrounding shingle health, and any signs of water infiltration. This assessment determines whether you need repairs or full replacement.
Safety Preparation
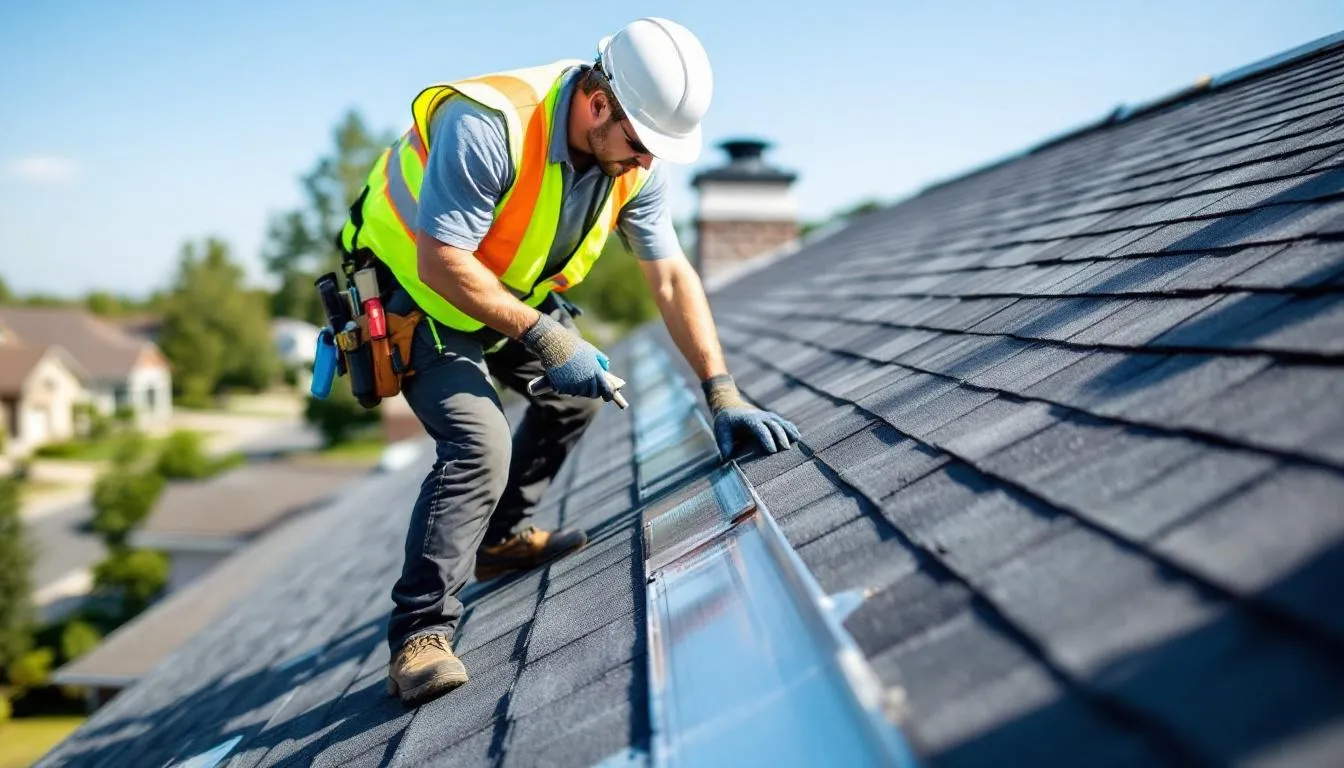
Roof work is dangerous. Professionals use OSHA-compliant safety equipment including harnesses, properly rated ladders, and non-slip footwear.
Never attempt flashing repairs yourself if you’re uncomfortable with heights. One slip can mean serious injury—or worse.
Removing Damaged Flashing
Accessing flashing requires carefully removing surrounding shingles. This must be done without damaging reusable materials or the underlayment.
The old flashing is then removed, taking care not to damage the structure it protected. Any old mortar or sealant is completely cleaned away.
Preparing the Surface
The exposed area is thoroughly cleaned to remove debris, old sealant, and corrosion. Proper surface preparation ensures the new flashing bonds correctly.
If water damage has compromised the roof deck or chimney masonry, those repairs must be completed before new flashing goes in.
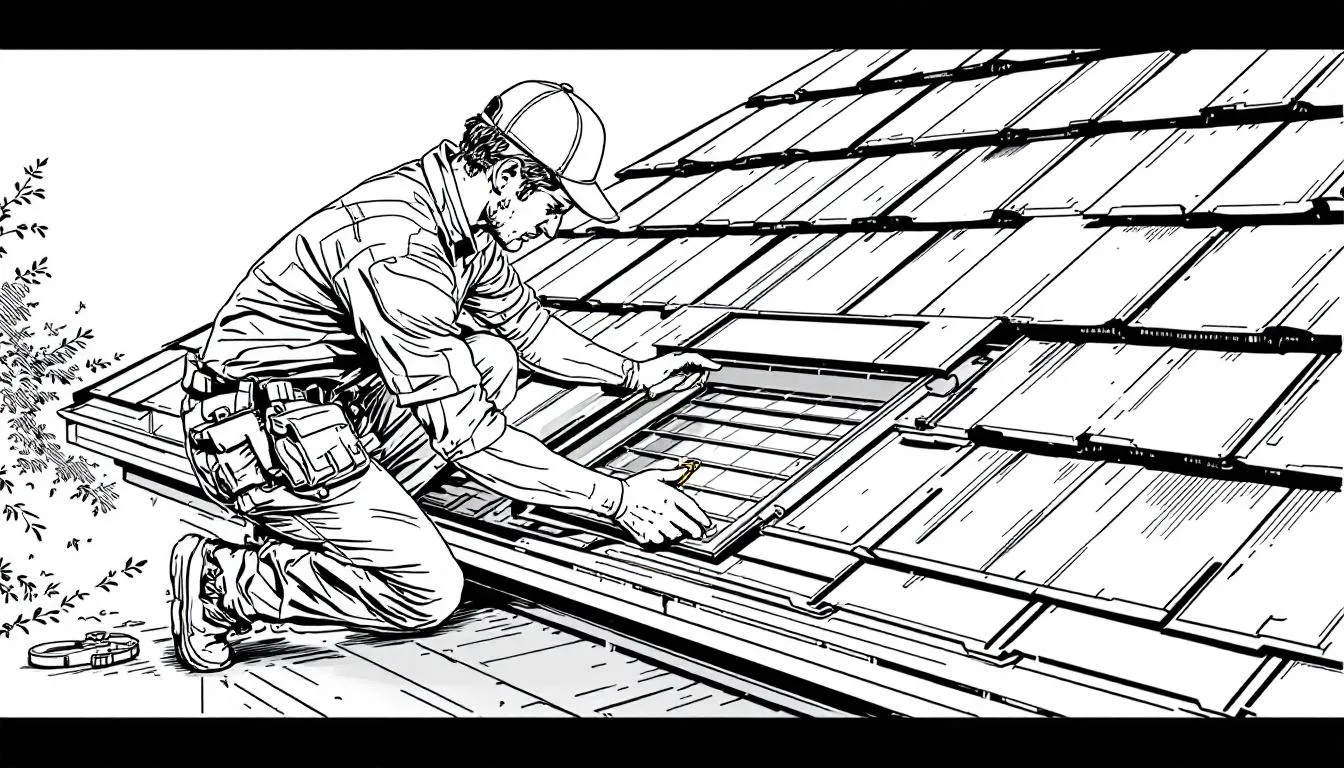
Installing New Flashing
New flashing is cut precisely to size and positioned to overlap properly with adjacent roofing materials. The installation follows manufacturer specifications for your roof type.
For step flashing, each piece overlaps the one below. Valley flashing extends far enough up both roof slopes. All pieces are secured with appropriate fasteners.
Sealing and Waterproofing
Every seam, edge, and fastener is sealed with high-quality roofing cement or specialized sealant. This creates the waterproof barrier that protects your home.
Professional roofers use the right sealant for each application—not all roofing cements work equally well on all materials.
Reinstalling Shingles
Shingles are carefully replaced, ensuring proper overlap and alignment. Fasteners are sealed to prevent new leak points.
The finished repair should be nearly invisible, blending seamlessly with your existing roof.
Final Inspection and Testing
A water test confirms the repair is completely sealed. The roofer inspects the entire repair area one more time to ensure nothing was missed.
Temporary Emergency Flashing Repairs
If flashing fails during a storm and you need immediate protection, these temporary measures can minimize damage until professional repairs arrive:
1. Roofing Cement Application
For small cracks or gaps, quality roofing cement can provide short-term sealing. Clean the area thoroughly, apply cement generously, and smooth it to create a water barrier.
This is strictly temporary—plan for permanent repairs as soon as weather permits.
2. Flashing Tape
Self-adhesive flashing tape can cover small damaged areas in an emergency. Clean and dry the surface completely before applying.
Flashing tape won’t hold up to Long Island winters. Use it only as a stopgap measure.
3. Tarp Protection
For extensive damage, secure a quality tarp over the affected area. Weight it properly and ensure water can’t pool on top.
Never wait out bad weather without calling professionals. Temporary fixes buy time—they’re not solutions.
DIY vs. Professional Flashing Repair
Many Long Island homeowners wonder whether flashing repair is a DIY project. Here’s the honest truth:
Flashing repair requires specialized knowledge, proper tools, and roofing experience. What looks like a simple seal job actually involves understanding water flow patterns, knowing which materials work together, and ensuring permanent weatherproofing.
Why DIY Flashing Repairs Usually Fail
Improper installation techniques create new leak points. Using wrong materials causes premature failure. Missing underlying damage means the problem persists. Poor sealant application leaves gaps.
Most critically, roofing mistakes compound over time. A flashing repair that seems fine in July might fail catastrophically during January’s freeze-thaw cycles.
The Professional Advantage
Experienced roofers spot problems you’ll miss. They have the right materials for Long Island’s climate. Their work is backed by warranties. They complete repairs safely.
We’ve been serving Long Island for 35 years because we do flashing repairs right the first time. That’s not marketing—it’s the difference between a repair that lasts two years and one that protects your home for decades.
When to Call a Professional
You need professional help if damage is extensive, flashing is in hard-to-reach areas, you’re uncomfortable working on your roof, water damage already exists in your home, or your roof is steep or high.
Don’t risk your safety or your home’s protection. The cost of professional repair is nothing compared to fixing water damage from a failed DIY job.

Maintaining Your Roof Flashing
Proper maintenance extends flashing lifespan and catches problems before they become emergencies.
Annual Inspections
Have your roof inspected every spring after winter damage and every fall before storm season. Professional inspections cost far less than emergency repairs.
Look for rust development, sealant condition, physical damage, and signs of water infiltration yourself between professional inspections.
Keep Flashing Clean
Remove leaves, branches, and debris that trap moisture against flashing. Debris accumulation accelerates corrosion and hides developing problems.
Address Minor Issues Immediately
Small problems become big ones fast. A tiny crack in flashing sealant can become a rotted roof deck in one winter if ignored.
When you spot problems, call for repairs right away. Don’t wait for the next storm to reveal how serious the damage really is.
Monitor After Severe Weather
After every major storm, check your roof and attic for new water stains or damage. Long Island nor’easters test every vulnerable point on your roof.
Early detection means repairs stay affordable and simple.
Long Island-Specific Considerations
Our unique climate creates specific challenges for roof flashing:
Salt Air Corrosion
Coastal properties face accelerated flashing deterioration from salt spray. Aluminum and copper resist corrosion better than galvanized steel in marine environments.
Regular inspections are even more critical within three miles of Long Island Sound or the Atlantic.
Freeze-Thaw Cycles
Our winters alternate between freezing temperatures and thaws. This expansion-contraction cycle stresses flashing seals and joints, creating leak pathways.
Proper sealant selection matters enormously. Your roofer should use products rated for temperature extremes.
Hurricane and Nor’easter Winds
Long Island’s coastal storms generate winds that can tear improperly secured flashing. Every fastener must be properly sealed to prevent both wind damage and leak points.
Ice Dam Formation
Ice dams force water under shingles and test flashing integrity. Proper attic ventilation and insulation reduce ice dam formation, taking pressure off your flashing.
Final Note: When Flashing Can’t Be Repaired
Sometimes repair isn’t possible. You need complete replacement when corrosion is extensive, the material has failed, improper installation is causing recurring leaks, your roof is being replaced, or building codes have changed.
Complete flashing replacement during a roof replacement is standard practice. The incremental cost is minimal compared to doing it later.
Protect Your Long Island Home Today
Roof flashing might be thin metal, but it’s your home’s heavyweight protection against water damage. Understanding how it works, recognizing failure signs, and acting quickly keeps your home dry and your repair costs manageable.
The difference between a $400 flashing repair and a $10,000 water damage restoration often comes down to a single phone call made at the right time.
County Roofing Systems has protected Long Island homes for over 35 years with expert flashing installation and repair. Our certified team understands exactly what Long Island’s coastal climate demands from your roof’s protective systems.
Don’t wait for the next storm to test your roof’s weak points. Call County Roofing Systems today at (631) 608-5757 for a free roof inspection. We’ll evaluate your flashing, identify any issues, and provide honest recommendations that keep your home protected without breaking your budget.