UPDATED FOR 2026
Spring Roof Inspection Checklist for Long Island Homeowners
Essential spring roof inspection checklist for Long Island homes. County Roofing Systems explains post-winter damage assessment, what to check, and the best way to go about repairing your roof when you discover damage.
Key Takeaways:
- National averages don’t apply here. Long Island labor costs, permit requirements, and older housing stock all push Nassau County projects above what generic estimates show.
- Permits are required in all three Nassau towns. Hempstead, North Hempstead, and Oyster Bay each require them — unpermitted work creates problems at resale and can affect insurance coverage.
- Decking condition is the hardest variable to know in advance. Nassau’s postwar housing frequently needs partial sheathing replacement once old shingles come off — a legitimate contractor prices this transparently.
- Two existing shingle layers means full tear-off. Nassau code allows one layer over one in some cases, but many older homes already have two — which adds scope and disposal cost.
- A phone call estimate isn’t a real estimate. The specific details of your home determine the actual cost — square footage alone doesn’t get you there.
This is one of the most common questions we get from Nassau County homeowners, and it’s one where generic national averages don’t serve you well.
Websites that throw out a single number — “$8,000 to $14,000” or “roughly $400 per square” — are giving you information that wasn’t calibrated for Long Island and may not account for the factors that actually drive costs on a Nassau County project.
Here’s a realistic breakdown of what goes into a roof replacement cost in Nassau County, what pushes the number up or down, and what you should expect from a transparent estimate.
Why Nassau County Costs Run Higher Than National Averages
Before getting into specific factors, it’s worth understanding why roof replacement in Nassau County tends to run above national figures.
Labor costs on Long Island are among the highest in the country, reflecting the regional cost of living and the licensing requirements that legitimate contractors carry. A licensed, insured contractor in Nassau County is operating in a significantly more expensive market than a contractor in the Midwest or the South — and that differential shows in the price.
Nassau County building permits add cost and time to every project. All three Nassau County towns — Hempstead, North Hempstead, and Oyster Bay — require permits for roof replacement, and the permit process involves filing fees, inspection scheduling, and in some cases specific compliance requirements. We handle all of this on behalf of our customers, but it’s a real cost that’s factored into every estimate.
The postwar housing stock that makes up the bulk of Nassau County’s residential inventory also creates project-specific complications that newer housing doesn’t. Older homes frequently have multiple shingle layers that need to come off, decking that needs inspection and often partial replacement, and flashing that hasn’t been touched in decades.
These aren’t surprises on a well-run project — they’re identified during the assessment — but they’re real scope items that affect the final number.
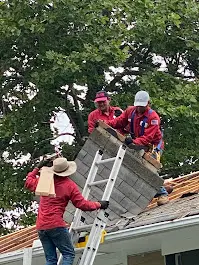


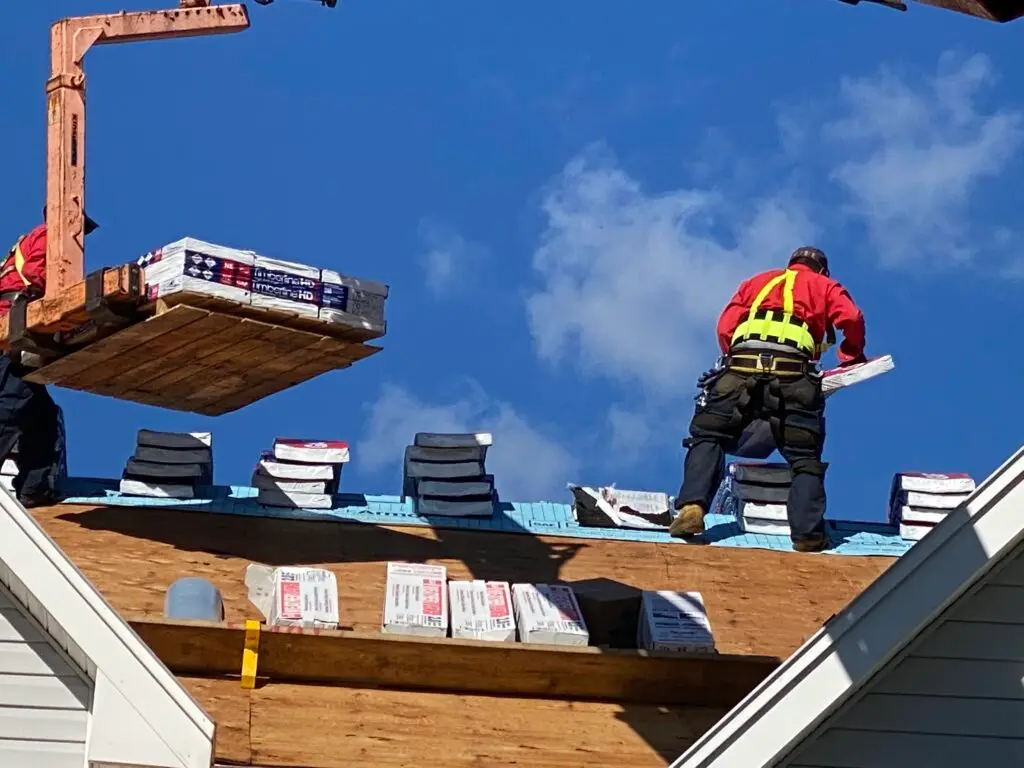
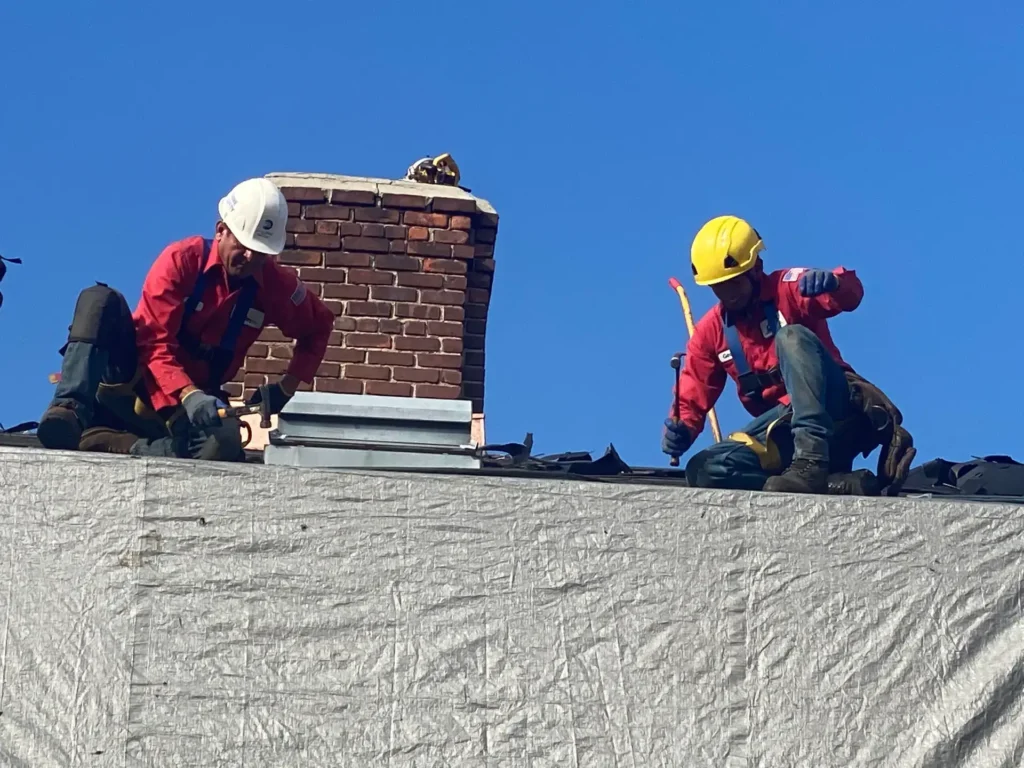
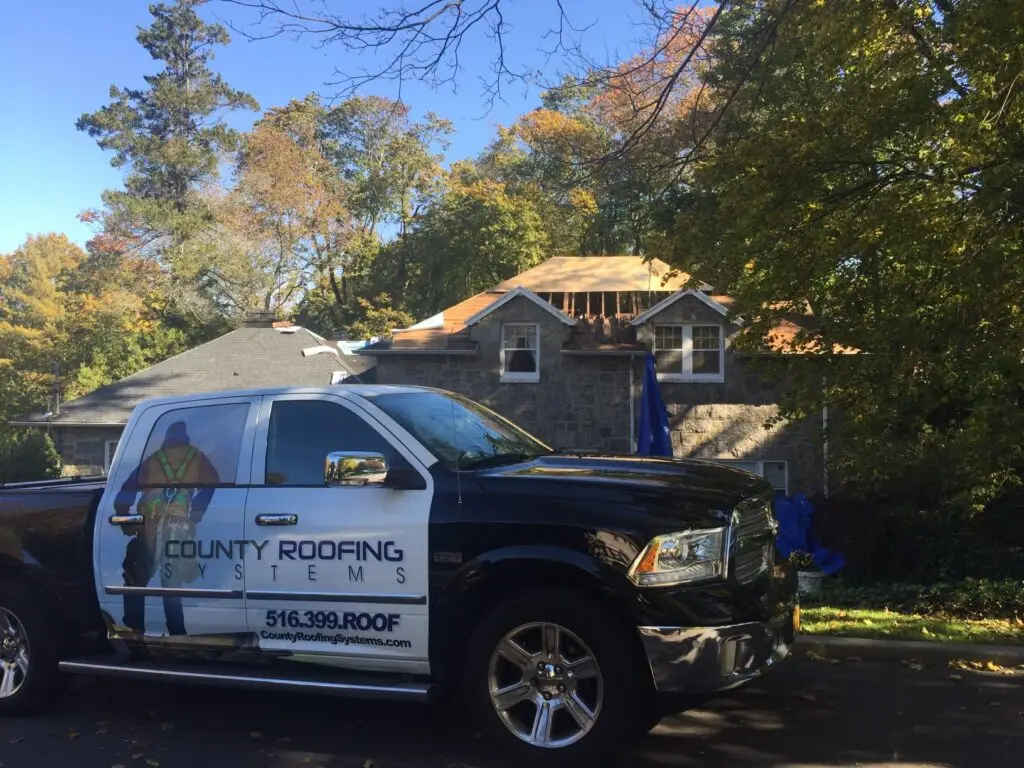
County Roofing Systems team repairing and replacing roofs throughout Long Island.
Spring Roof Inspection Checklist: 8 Items You Should Get Inspected Today
Let’s jump into the checklist.
Each of the items below is relevant specifically to Nassau and Suffolk County’s unique climate, geographic, and architectural history.
These are all items you should have inspected regularly, especially after a rough winter storm season.
Let’s get started:
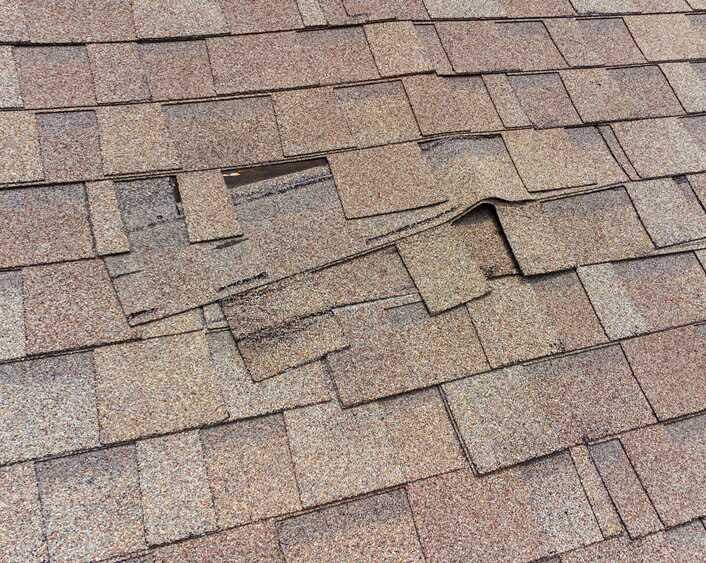
1. Missing or Damaged Shingles
What to look for: Shingles that are cracked, curling, buckling, showing shingle damage, or completely missing. Be sure to inspect for missing shingles, as these are a common sign of roof damage that can quickly lead to further issues.
Pay special attention to the roof’s southern and western exposures, which take the most weather abuse.
How to check from the ground: Use binoculars to scan your roof systematically, section by section.
Look for areas where the underlying roof deck is visible or where shingles appear darker, indicating granule loss.
Why it matters: Winter’s freeze-thaw cycles break shingle adhesive seals. Wind-driven rain can then penetrate beneath compromised shingles, leading to water damage in your attic and ceilings.
Shingle damage, such as missing, cracked, or curling shingles, can accelerate roof deterioration and cause leaks or structural problems. A single missing shingle can cause thousands in interior damage if left unaddressed.
Next steps: Document any damage with photos. Never attempt DIY shingle replacement, especially on steep roofs—professional roofers have the safety equipment and expertise to properly seal and secure replacement shingles without creating new problems.
FINANCE YOUR HOME IMPROVEMENT PROJECT TODAY
0% Financing, Quick and Easy Approval
With nearly four decades serving homeowners under our belt, we know what’s needed to make your roofing project a success.
When you work with County Roofing, you get only the best. As little as 0% interest on approval for 5 years, quick approval, easy pay, and all backed by the best guarantees in the industry.
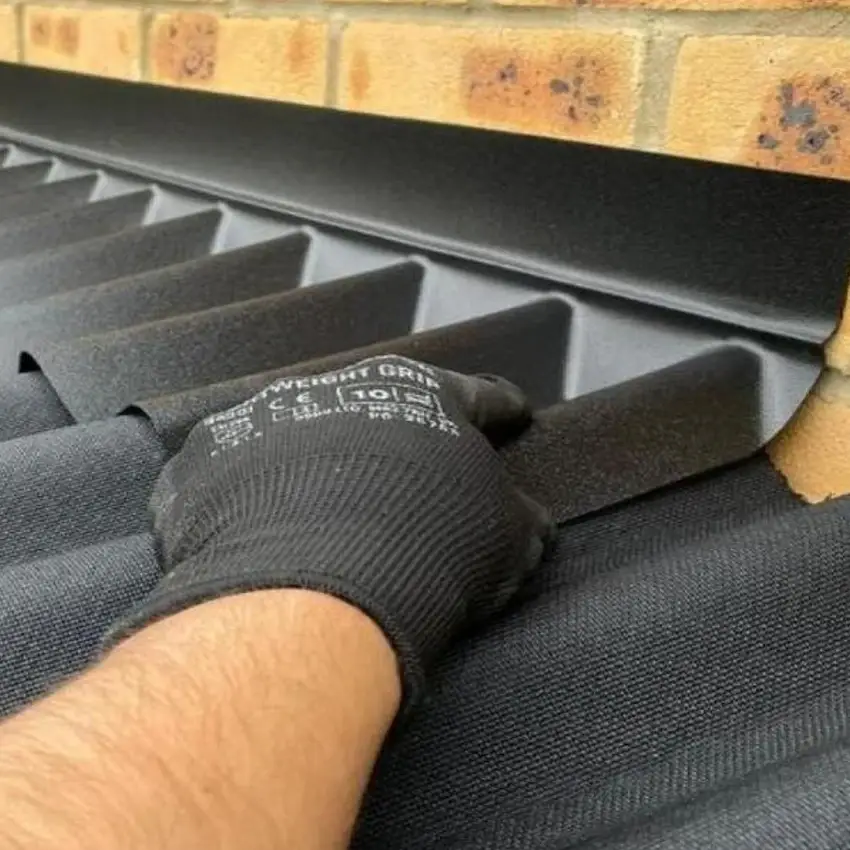
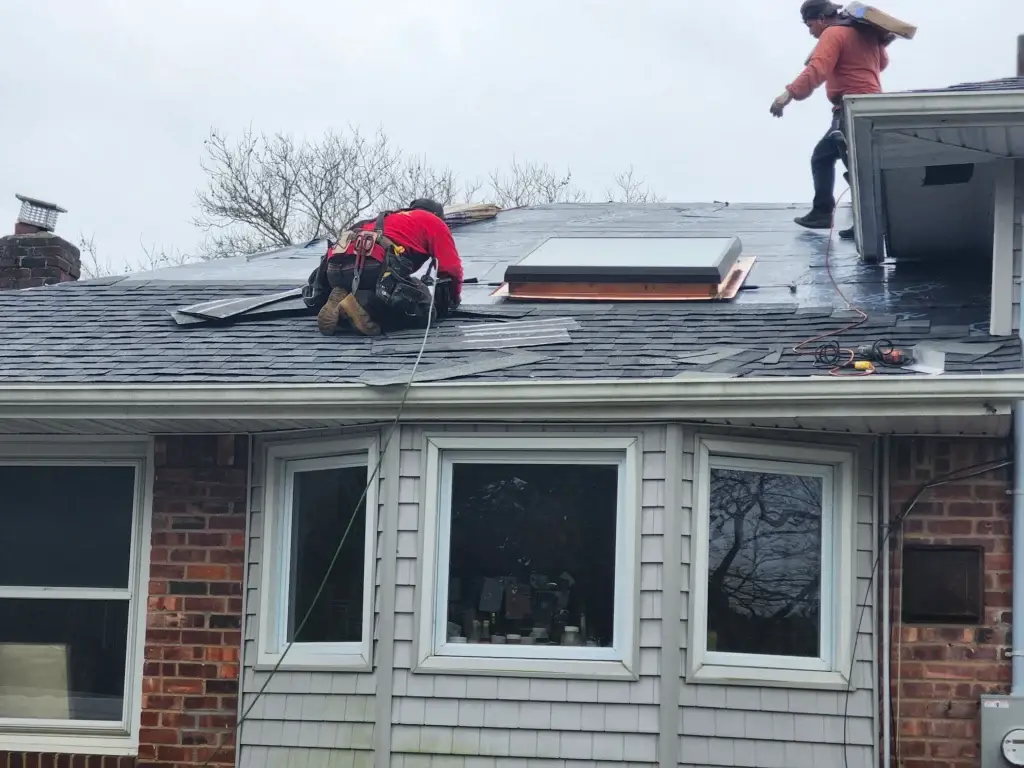
2. Flashing Around Chimneys, Vents, and Skylights
What to look for: Rust spots, separated seams, cracks in caulking, or gaps between the flashing and the structure it’s protecting.
Flashing failure is one of the most common sources of roof leaks on Long Island homes.
How to check from the ground: Use binoculars to examine all penetrations in your roof.
Look for lifted edges, missing sections, or areas where the flashing has pulled away from the chimney or vent pipe.
Why it matters: Flashing creates a watertight seal around roof penetrations. When ice dams form or heavy snow melts, water backs up under compromised flashing and enters your home.
Most “roof leaks” around chimneys are actually flashing failures, not shingle problems.
Next steps: Flashing repairs require specialized skills and tools. Improperly installed flashing actually creates more problems than it solves—a professional roofer can properly remove old flashing, install new materials, and create lasting waterproof seals.
3. Gutters and Downspouts
What to look for: Gutters sagging or pulling away from the fascia, visible rust or holes, standing water, disconnected or crushed downspouts, and debris buildup—especially after winter storms.
Also check for granules accumulating in gutters—this indicates advanced shingle wear.
How to check: Walk around your home’s perimeter and visually inspect all gutters and downspouts. Look underneath for water stains on siding or foundation, which indicate overflow problems.
Check that downspout extensions direct water at least 4-6 feet away from your foundation.
Why it matters: Clogged or damaged gutters cause water to back up under shingles and overflow onto siding and foundations. Debris buildup can clog gutters and downspouts, making it difficult to ensure proper drainage and increasing the risk of water damage to your home. On Long Island, where we get frequent heavy rains, functional gutters are critical for protecting your home’s structure.
Overflowing gutters also create ice dams during winter.
Next steps: You can clean gutters yourself if you’re comfortable on a ladder. But repairing sagging gutters or replacing sections requires professional installation to ensure proper pitch and secure mounting.
4. Attic Ventilation and Insulation
What to look for: Moisture stains on attic insulation, mold or mildew growth, frost or ice buildup on roof deck underside, and blocked or damaged soffit vents.
Proper ventilation prevents ice dams and extends shingle life.
How to check: Enter your attic on a sunny day and turn off the lights. Look for daylight coming through the roof deck, which indicates holes.
Check insulation for dampness or compression. Examine the underside of the roof deck for dark staining—this indicates moisture problems that will lead to rot.
Why it matters: Poor ventilation traps heat and moisture in your attic, causing ice dams in winter and dramatically shortening your shingles’ lifespan. A well ventilated attic helps regulate temperature and moisture, preventing mold growth and prolonging your roof’s lifespan.
In summer, inadequate ventilation can make your attic reach 150+ degrees, literally cooking your shingles from underneath.
Next steps: Ventilation problems require professional assessment to determine whether you need additional soffit vents, ridge vents, or insulation upgrades. Incorrect DIY ventilation modifications often make problems worse by disrupting airflow patterns.
5. Interior Ceilings and Walls
What to look for: Water stains (brown or yellow discoloration), bubbling or peeling paint, soft spots when you press on the ceiling, and musty odors.
Fresh stains indicate active leaks, while old stains may show previous damage.
How to check: Inspect all ceilings in your top floor rooms, paying special attention to corners and areas near chimneys or bathroom vents.
Use a flashlight at an angle to spot subtle texture changes. Check during or immediately after heavy rain for active leaks.
Why it matters: By the time water stains appear on your ceiling, significant damage has already occurred to your roof deck, insulation, and framing. Leaks and water stains can trap moisture inside walls and ceilings, leading to further structural damage and mold growth.
What starts as a small roof issue can quickly become a major structural repair project if left unaddressed.
Next steps: Even small water stains require professional roof inspection to locate the source. Water travels along roof deck seams before dripping, so the leak’s entry point is often several feet from the visible ceiling stain.
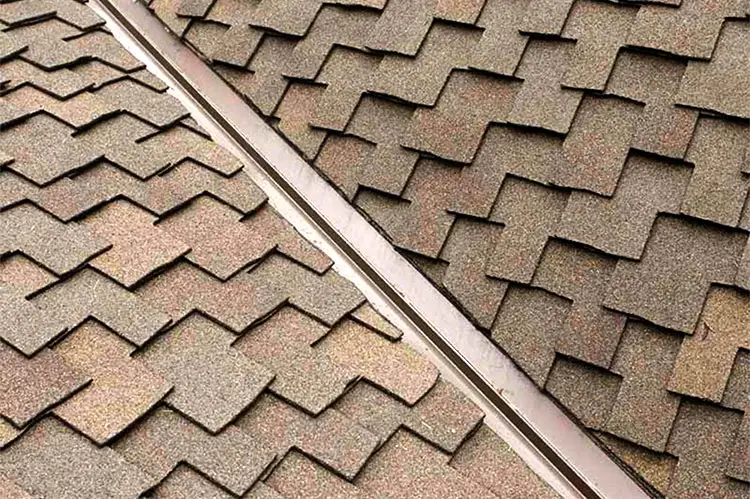
6. Roof Valleys
What to look for: Debris accumulation, shingle granule loss concentrated in valley channels, cracked or separated valley flashing, and any areas where the valley appears to be holding water.
How to check from the ground: Valleys are visible with binoculars. Look for darker streaks running down valleys, which indicate water channeling problems.
Also look for areas where shingles appear more worn than surrounding roof surfaces.
**Why it matters:**Roof valleys handle twice the water volume of other roof areas because they channel runoff from two roof planes.
They’re also prime locations for ice dam formation. Valley failures cause some of the most severe and fast-moving roof leaks.
Next steps: Valley repairs often require removing and reinstalling surrounding shingles to properly seal the valley flashing. This is precision work that should only be done by experienced professionals to prevent creating new leak points. Routine inspections of roof valleys are recommended to catch potential problems early and prevent costly leaks.
7. Soffit and Fascia Boards
What to look for: Peeling paint, wood rot, holes indicating animal entry, sagging sections, and water stains.
These boards protect your roof edges and support your gutters.
How to check: Walk around your home and visually inspect all soffit and fascia boards.
Look for areas where paint is bubbling or boards appear darker, indicating moisture. Check for gaps where animals might enter your attic.
Why it matters: Damaged soffit and fascia allow water to penetrate behind your gutters and into your roof edge, causing structural rot. Keeping soffit and fascia boards in good condition is essential for a well maintained roof and overall home protection.
They also provide entry points for squirrels, raccoons, and bats to access your attic.
Next steps: Rotted fascia and soffit boards must be replaced before they compromise your gutter system or roof edge. Professional replacement ensures proper ventilation is maintained and that new materials are properly sealed and painted.
8. Roof Deck Sagging or Structural Issues
What to look for: Dips, waves, or sagging areas visible on your roof surface.
From inside the attic, look for cracked or split rafters, sagging between supports, or any structural members that appear bent or damaged.
How to check: View your roof from street level and from multiple angles. A straight, properly supported roof should have clean lines without dips or waves.
Inside the attic, use a flashlight to inspect all structural members for cracks, splits, or signs of movement.
Why it matters: Structural damage indicates serious problems that will only worsen with time. Heavy snow loads can crack rafters, and long-term water infiltration can rot roof deck plywood. Neglecting these issues can compromise the structural integrity of your entire home.
These issues compromise your entire roof system’s integrity.
Next steps: Any visible sagging or structural damage requires immediate professional assessment. This level of damage often means your roof is approaching failure and may need emergency repairs or replacement to prevent collapse.
What a Realistic Range Looks Like
Without knowing the specific details of your home, the ranges below reflect typical Nassau County projects we see:
A smaller ranch or cape with a simple roofline, single existing shingle layer, and sheathing in good condition runs toward the lower end of the scale.
A larger colonial or split-level with a more complex roofline, multiple penetrations, and the decking work that’s common in 1960s Nassau County construction runs toward the higher end.
Projects with significant flat roof sections, extensive chimney flashing, or high-end material upgrades can run beyond that range.
The right number for your home is the one on your estimate — built from an actual inspection, not a square footage estimate made from a phone call.
What You Should Expect From a Transparent Estimate
A legitimate estimate for a Nassau County roof replacement should include itemized material specifications — not just “asphalt shingles” but the specific product, weight class, and warranty tier.
It should break out labor separately from materials. It should identify any known decking or flashing issues that came up during the inspection, and explain how those will be handled. And it should be clear about permit costs and who’s responsible for filing.
Be cautious of estimates that don’t include permit language — unpermitted roof work in Nassau County creates real problems at resale and can affect homeowner’s insurance coverage. Every legitimate contractor operating in Nassau County pulls permits. It’s not optional.
County Roofing Systems has been replacing roofs across Nassau County for over 35 years. We carry GAF Master Elite and Owens Corning Preferred certifications, we handle all permit filings and inspection coordination, and we provide detailed, transparent estimates before any work begins.
When to Call a Professional
While this checklist helps you identify potential problems, a professional roof inspection catches issues that aren’t visible from the ground or to untrained eyes.
It’s important to have your roof inspected by a professional in the spring to ensure all issues are properly identified and addressed, keeping your roof secure and functional.
Professional roofers can safely access all roof areas, identify subtle warning signs, and provide accurate assessments of your roof’s remaining lifespan.
Signs You Need Professional Help
You should schedule a professional inspection if you notice any of these:
Any damage during your visual inspection requires professional assessment
Your roof is more than 15 years old and should be inspected every 1-2 years
After any major storm with high winds or hail
You haven’t had a professional inspection in 2-3 years
You’re buying or selling your home and need documentation of roof condition
Your homeowners insurance requires it for coverage renewal
LIFETIME MATERIAL, LIFETIME WORKMANSHIP WARRANTY
Get Industry-Leading Protection
County Roofing Systems can offer you the longest warranties available because we’re a CertainTeed SELECT ShingleMaster, a certification only 1% of contractors qualify for.
We have over 35 years of experience living up to CertainTeed’s tough standards. That means CertainTeed trusts our home improvement work enough to stand behind it with their best guarantees.
To learn more about the industry-leading LIFETIME material, LIFETIME workmanship warranty, click the button below to call us today:
The Cost of Skipping Your Spring Inspection
Homeowners who skip spring inspections often pay the price later in the year.
A missing shingle costs around $150 to replace in April but turns into a $3,000+ interior water damage repair when discovered after summer storms.
Failed flashing costs $300-600 to repair but leads to $5,000+ in structural repairs once water damage spreads to rafters and insulation.
Minor ventilation issues can be corrected for $500-1,000 but result in premature roof replacement at $15,000-25,000 when shingles fail years early from heat damage.
Neglecting spring roof inspections can also lead to increased energy costs, as poor insulation and ventilation allow heat to escape in winter and enter in summer, making your HVAC system work harder.
The investment in a spring inspection and minor repairs is always cheaper than emergency repairs and collateral damage.
Get Your Professional Spring Roof Inspection
A DIY visual inspection is a great starting point, but it’s not a substitute for professional assessment. Regular roof maintenance, including professional inspections, is essential for extending your roof’s lifespan and preventing unexpected issues.
Many critical roof problems simply aren’t visible from the ground:
Underlayment damage beneath shingles
Subtle structural issues requiring trained eyes
Inadequate ventilation that’s slowly destroying your roof
Improper previous repairs that will fail soon
Early-stage leaks before water stains appear on ceilings
County Roofing Systems has the training, equipment, and experience to identify these hidden problems before they become emergencies.
In addition, we’ve been around longer than any other roofer in the area, with 35 years of experience protecting Long Island and Westchester homes.
Why Choose County Roofing Systems for Your Spring Inspection
The quality of your roof inspection depends entirely on the contractor you choose. Not all roofing companies offer the same level of expertise, and many cut corners to maximize profits.
When you choose County Roofing Systems for your spring roof inspection, you’re working with one of Long Island’s most qualified roofing companies.
We’re one of only 2% of roofing contractors nationwide who hold both GAF Master Elite and CertainTeed SELECT ShingleMaster certifications. These aren’t marketing badges—they represent rigorous training requirements, proven installation excellence, and the financial stability to back our warranties.
Our Spring Inspections Include
Comprehensive assessment of all roof components from shingles to structural supports
Detailed documentation with photos of every issue we identify
Honest evaluation of your roof’s remaining lifespan without pressure to buy
Clear explanations of any needed repairs with transparent pricing
Emergency repair prioritization to protect your home immediately
What Sets Us Apart
35+ years serving Long Island homeowners means we understand exactly how local climate affects roofs.
Our 25-year labor warranty (compared to the industry standard 1-2 years) demonstrates our confidence in our workmanship.
We offer 50-year manufacturer material warranties that only elite certified contractors can provide.
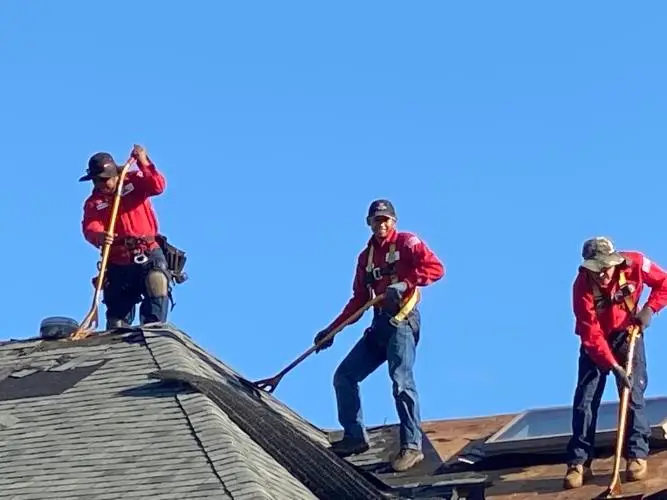
Our team includes certified master craftsmen, not subcontractors or day laborers. We use only premium materials from GAF, CertainTeed, and Owens Corning—not the builder-grade products most contractors install to increase their margins.
Get FREE Gutters and Leaders Service
Winter has a way of filling up your gutters and leaders with debris, granules, and the remnants of every storm that rolled through since October.
As the cold season winds down, clearing them out isn’t just cosmetic — clogged gutters heading into spring rain season can back up against your fascia and lead to the kind of water damage that turns into a much bigger conversation.
Right now, County Roofing Systems is offering FREE gutters and leaders service with the purchase of any new roofing system. Start the season right — a new roof and clean, functioning gutters and leaders make your home look better than ever, and protect it where it counts.
Call us at 631-400-7663 or click here to schedule your free estimate.
Frequently Asked Questions
When is the best time to schedule a spring roof inspection on Long Island?
Late March through early April is ideal—after the last frost but before spring storms arrive. This timing allows you to identify and repair winter damage before summer thunderstorms test your roof.
If you notice any obvious damage during your ground-level visual inspection, don’t wait for the ideal timing. Schedule professional help immediately to prevent further damage.
Can I do my own roof inspection instead of hiring a professional?
You can and should do a visual ground-level inspection using binoculars to spot obvious problems. However, many critical issues aren’t visible from the ground, including underlayment damage, subtle structural problems, and early-stage leaks.
Professional inspections include safe roof access, trained evaluation of all components, and accurate assessment of your roof’s remaining lifespan. For roofs over 15 years old or after major storms, professional inspection is essential.
How much does a professional spring roof inspection cost?
Many reputable roofing contractors, including County Roofing Systems, offer free spring roof inspections with no obligation.
This allows you to understand your roof’s condition and budget for any necessary repairs without upfront costs. Be wary of contractors who charge inspection fees and then apply them to repair costs—this often indicates they’re more interested in making sales than providing honest assessments.
What are the most common spring roof problems on Long Island?
The most common issues we find are missing or damaged shingles from freeze-thaw cycles, compromised flashing around chimneys and vents from ice dam pressure, clogged gutters causing water backup, inadequate attic ventilation leading to moisture problems, and granule loss indicating advanced shingle wear.
Long Island’s coastal climate and winter weather create unique challenges that make regular inspections even more important than in other regions.
How long does a typical roof inspection take?
A thorough professional inspection typically takes 45-90 minutes, depending on your roof’s size and complexity. This includes exterior examination of all roof components, attic inspection for ventilation and moisture issues, gutter assessment, and documentation with photos.
You’ll receive a detailed report explaining any problems found, recommended repairs, and priority level for each issue. Quality inspections take time—be skeptical of contractors who rush through in 15-20 minutes.
Should I repair or replace my roof after a spring inspection?
This depends on your roof’s age, extent of damage, and remaining lifespan. If your roof is under 15 years old with isolated damage, repairs are usually the best choice. If your roof is over 20 years old with multiple problem areas, replacement may be more cost-effective long-term.
A professional inspection will provide honest guidance based on your specific situation. County Roofing Systems never pushes replacement when repairs will adequately protect your home—we prioritize what’s best for you, not our bottom line.

Keith Hutchinson Schmied
We Serve the Entire Long Island Area
We serve all of Long Island, from Nassau to Suffolk County. Whether you’re on the coast or in the city, we know the area’s local design preferences, construction needs, and climate challenges.
Call us today for a free estimate: (631) 400-7663